How to connect the calorimeter?
As a professional device for accurately measuring heat, correct wiring is a key prerequisite for ensuring its stable operation and accurate measurement. Here is a detailed introduction to the wiring method of the calorimeter, a few simple steps to help you easily complete the operation.
The first step: preparation
Before connecting, be sure to cut off the power supply of the calorimeter and related supporting equipment to avoid the risk of electric shock. At the same time, carefully check whether the host, power cord, data cable and other accessories of the calorimeter are in good condition, and whether they are damaged or broken. Prepare screwdrivers and other necessary tools to ensure that the operating environment is dry, clean and free of debris interference.
Step 2: Connect the power cord
Find the power interface behind the host of the calorimeter, usually a standard three-hole socket. Plug one end of the matching power cord firmly into the interface to ensure that the plug fits tightly with the socket and does not loosen. The other end is connected to an external power socket that meets the power requirements of the device. The socket needs to be grounded to ensure the safety of equipment and personnel. After the connection is completed, gently pull the power cord to check whether the connection is stable.
Step 3: Connect the data cable
The calorimeter often needs to communicate with a computer or other external devices, which is inseparable from the connection of the data cable. According to the device manual, find the data transmission interface on the host of the calorimeter, the common ones are USB interface, RS232 interface, etc. Insert one end of the corresponding type of data cable into the interface of the calorimeter accurately, pay attention to the direction of the plug, and avoid damage to the interface caused by forced insertion. The other end of the data cable is connected to the corresponding interface of the external device, and the connection must also be stable to prevent data transmission from being interrupted.
Step 4: Check the line connection
After completing the above connection operation, fully check the connection of all lines again. Check whether the power cord and data cable are plugged in tightly, and whether there is any winding or knotting. After confirming that it is correct, turn on the external power supply first, and then turn on the power supply of the calorimeter host to observe whether the device starts normally, whether there is any abnormal sound or abnormal indicator light. If the device starts normally, it means that the connection is successful; if there is a problem, turn off the power immediately and check the line connection again.
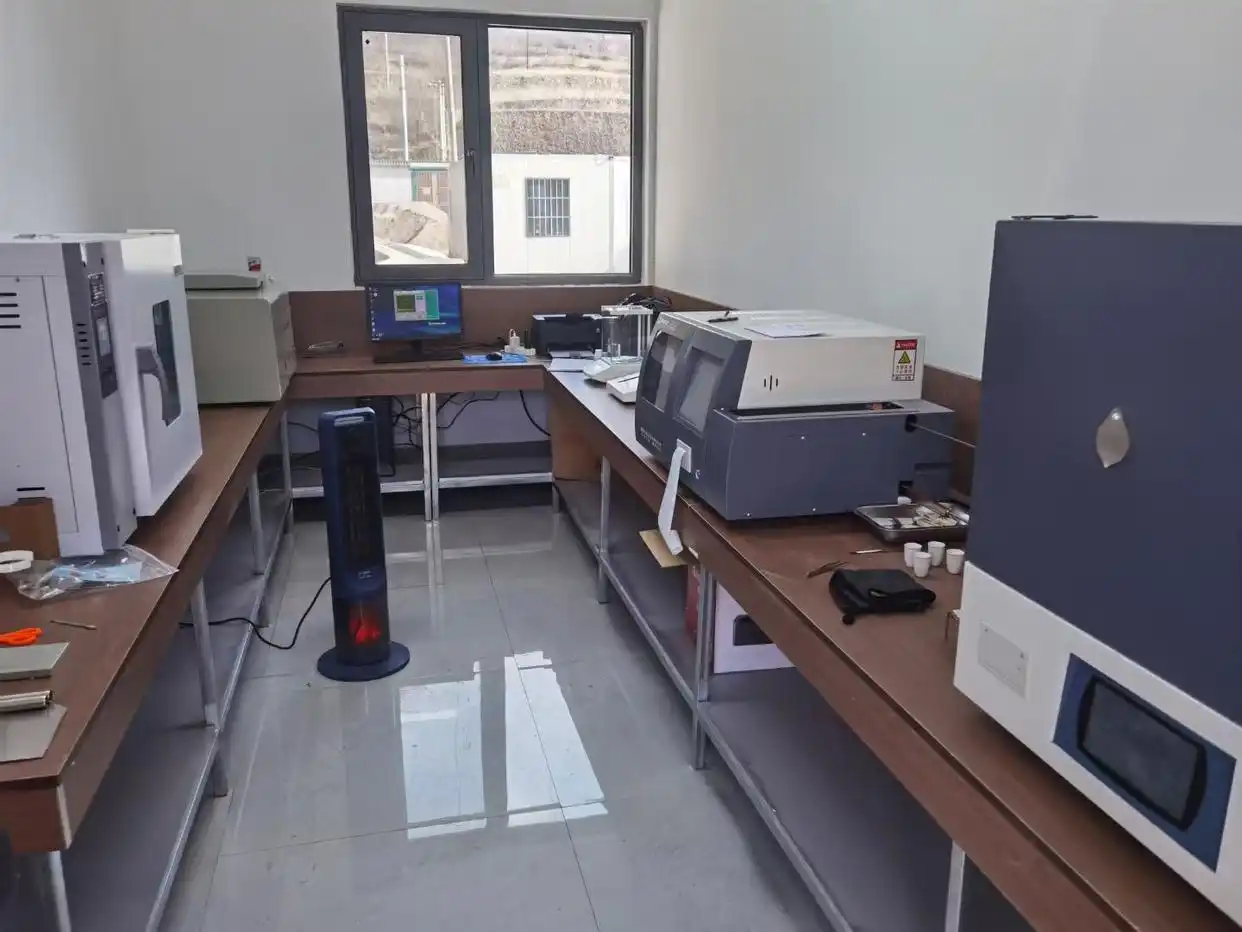
Mastering the correct wiring method of the calorimeter can not only ensure the efficient operation of the equipment, but also prolong the service life of the equipment. By following the above steps, you can successfully complete the wiring work of the calorimeter and lay a solid foundation for accurate measurement.
 How to calibrate the calorimeter
How to connect the calorimeter?
How to calibrate the calorimeter
How to connect the calorimeter?
 Which calorimeter is easy to use?
 How to set up the calorimeter