How to wire a calorimeter
Preparation tools and pre-inspection
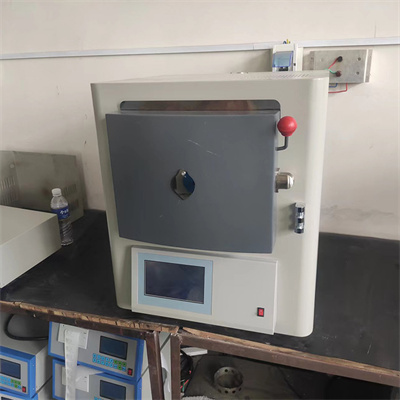
Before wiring the calorimeter, prepare suitable screwdrivers, insulating tape and other tools. At the same time, carefully check whether the appearance of the calorimeter is damaged, and check whether the power interface, sensor interface and other parts are normal. Make sure the instrument is in a power-off state to avoid the risk of electric shock and prepare for safe wiring.
Power line connection
Find the power interface: The power interface of the calorimeter is usually located on the back of the instrument and is clearly marked. Carefully identify the type of interface. Common ones are AC power interfaces, which need to match the power supply of the corresponding voltage.
Connect the power cord: Firmly insert the power cord that meets the rated voltage of the calorimeter into the power interface. When inserting, make sure that the plug fits tightly with the interface to prevent loose contact. If the interface has fixing screws, tighten them with a screwdriver to reinforce the connection to ensure stable power supply.
Sensor line connection
Identify the sensor interface: The calorimeter is equipped with a variety of sensors, such as temperature sensors, etc. Each sensor corresponds to a specific interface, and the interface is clearly marked.
Precise docking line: According to the interface logo, accurately insert the line plug of the sensor into the corresponding interface. During operation, pay attention to aligning the direction of the interface to avoid damage to the interface caused by forced plugging and unplugging. After connecting, gently pull the line to check whether it is stable and prevent it from falling off during use.
Signal and control line connection
Clear circuit function: Some calorimeters are equipped with signal transmission and control circuits for communicating with external devices or implementing specific control functions. These circuit interfaces are also clearly identified.
Connect the line according to the regulations: Connect the signal line and the control line to the corresponding interface according to the instrument manual. When connecting, make sure that the line is connected correctly to avoid abnormal function of the instrument due to wrong connection. After the connection is completed, check the connection status of the line again to confirm that it is correct.
Post-wiring inspection and testing
Comprehensive inspection of the line: After the wiring is completed, carefully check whether all line connections are firm, loose, exposed, etc. Review the connection parts to ensure that each interface is connected in place.
Power-on test operation: After confirming that the circuit is correct, turn on the power supply and turn on the calorimeter. Observe whether the instrument starts normally and whether various functions operate stably. If there is an abnormality, immediately power off and check the line connection problem until the instrument runs normally.
Mastering the correct wiring method of the calorimeter can not only ensure the stable operation of the instrument, but also prolong the service life of the instrument. Follow the above steps to easily complete the wiring work of the calorimeter.
 How to read calorimeter data
 What is the design principle of a calorimeter?
 What is the harm of lack of water in the calorimeter?
 What is the input interface of the calorimeter?