How to fix a calorimeter
As a core instrument for accurately measuring heat, calorimeters play a key role in scientific research, chemical industry and other fields. In the event of a failure, it is crucial to master scientific maintenance methods. The following is a detailed introduction to the maintenance points of calorimeters.
Preparation before maintenance: building a solid foundation for safety
Before maintenance, be sure to cut off the power supply of the instrument to prevent the risk of electric shock. Prepare multimeters, screwdrivers, calibration weights, special cleaning cloths and other tools, and prepare instrument instructions to accurately locate the positions and parameter standards of each component. In addition, keep the maintenance environment dry and clean to avoid dust and water vapor affecting the performance of the instrument.
Second, common troubleshooting: accurate positioning of problems
1. Large data deviation: first check whether the sensor is loose, and use a multimeter to detect whether the sensor circuit is turned on. If the circuit is abnormal, replace the damaged cable in time; if the sensor is loose, re-fix and calibrate.
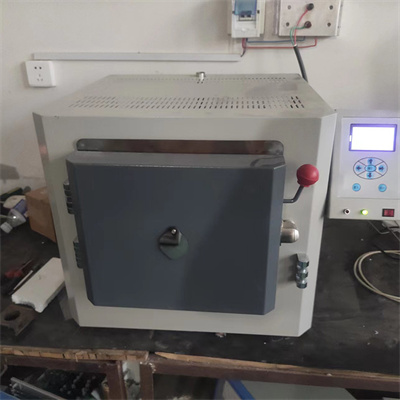
2. The instrument cannot be started: check whether the power line is in poor contact, check whether the power switch is damaged, if the switch fails, replace the switch of the same specification; at the same time, confirm whether the fuse is blown, and replace the appropriate fuse in time.
3. Abnormal temperature control: Focus on checking the heating module and temperature control system to see if the heating wire is aging and broken. If it is aging, replace the heating wire; if the temperature control sensor fails, replace the sensor in time and recalibrate the temperature parameters.
III. Core calibration steps: ensure accurate measurement
Calibration is the key link of maintenance, which directly affects the measurement results. First, zero calibration is carried out. Open the instrument to preheat for 15 minutes. After it is stabilized, put the empty sample cell into the calorimeter chamber and press the calibration button to complete the zero point setting. Secondly, range calibration is carried out. Put in a standard sample with known heat. Follow the instructions and adjust the instrument parameters until the displayed value is consistent with the standard value. After the calibration is completed, the measurement needs to be repeated 2-3 times to ensure that the data is stable.
Fourth, daily maintenance points: extend the life of the instrument
After the repair is completed, daily maintenance should not be ignored. After each use, wipe the instrument shell and calorimeter chamber with a cleaning cloth to avoid residual substances corroding parts; regularly check the circuit connection to prevent loosening; conduct a comprehensive calibration every 3 months, and apply special lubricant to the key components of the instrument to reduce wear and tear.
Mastering the above repair and maintenance methods can not only quickly solve the failure of the calorimeter, but also ensure the long-term stable operation of the instrument, providing accurate data support for experimentation and production.
 How to read calorimeter data
 What is the design principle of a calorimeter?
 What is the harm of lack of water in the calorimeter?
 What is the input interface of the calorimeter?