How to fill a calorimeter with water
The calorimeter plays a key role in various calorific value measurement experiments, and accurate water injection is the core premise to ensure its stable operation and obtain accurate data. Below, I will introduce the water injection method of the calorimeter in detail, so that you can understand it at a glance and get started easily.
Preparation
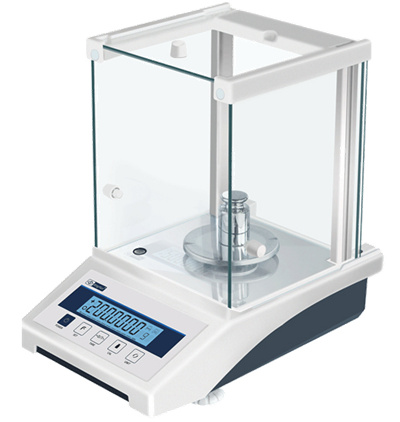
Before filling the water, be sure to check the appearance and condition of the calorimeter. Check whether the connections of the various components of the instrument are stable, and whether there are any signs of leakage or damage. At the same time, prepare a water source that meets the requirements. It is recommended to use purified water or distilled water to avoid impurities in the water affecting the experimental accuracy. In addition, prepare suitable water injection tools, such as measuring cups, funnels, etc., to ensure that the water injection process is accurate and controllable.
Water injection step
1. Find the water injection port: carefully observe the calorimeter to find a special water injection port, usually located on the top or side of the instrument, and clearly marked. Align the water injection tool at the water injection port and prepare for water injection.
2. Control the water injection speed: When starting the water injection, it should be slow and uniform to avoid water overflow or bubbles caused by excessive water flow. The presence of bubbles will affect heat transfer and then interfere with the experimental results.
3. Pay attention to the water level scale: The calorimeter is generally equipped with a water level scale. During the water injection process, always pay attention to the change of the water level and fill the water strictly according to the scale requirements. Too much water injection may cause the pressure of the instrument to be too large; too little water injection may not meet the experimental needs. When the water level reaches the specified scale, stop the water injection immediately.
Check after water injection
After the water injection is completed, check the connection parts of the instrument again to ensure that there is no water leakage. At the same time, observe whether the water level is stable. If the water level changes due to shaking and other reasons, it needs to be adjusted to the specified scale in time. In addition, check the display panel of the instrument to confirm that the parameters are normal and fully prepare for the follow-up experiment.
Mastering the correct water injection method of the calorimeter can not only ensure the smooth progress of the experiment, but also prolong the service life of the instrument. By following the above steps, you can easily complete the water injection work of the calorimeter and lay a solid foundation for accurate experiments.
 What is the water temperature of the calorimeter?
How to fill a calorimeter with water
What is the water temperature of the calorimeter?
How to fill a calorimeter with water
 How to adjust the calorimeter
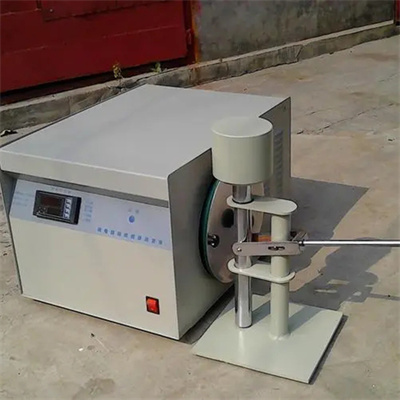 The reason for the calorimeter failure