How to use the calorimeter automatic oxygenator?
Preparation before use
Before using the calorimeter automatic oxygen filling instrument, be sure to be fully prepared. Check the appearance of the instrument first to see if any parts are loose or damaged to ensure that the instrument is in good condition as a whole. Then, turn on the power supply, turn on the instrument switch, and wait for the instrument to complete the self-test. If there is a fault code in the self-test, it needs to be checked in time. Follow-up operations can only be carried out after the self-test passes. At the same time, prepare the matching oxygen cylinder, check the pressure of the oxygen cylinder, and replace it in time if the pressure is insufficient to ensure sufficient oxygen supply.
Connection pipeline operation
Pipeline connection is the key link. Connect the oxygen cylinder to the intake interface of the automatic oxygenator through a special pressure reducing valve. When connecting, pay attention to the sealing of the interface. You can use a wrench to tighten it properly to prevent oxygen leakage. Then connect the outlet interface of the automatic oxygenator to the oxygen port of the calorimeter to ensure that the connection is firm and avoid falling off during the oxygenation process, so as to build a solid foundation for smooth oxygenation.
Oxygen charging parameter setting
Open the operation panel of the automatic oxygenator and set the oxygenation parameters according to the detection needs of the calorimeter. Focus on setting the oxygenation pressure and oxygenation time. Different samples have different oxygenation requirements, so they need to be set in strict accordance with the instrument manual and sample testing standards. For example, the oxygenation pressure of conventional samples is generally set within a specific range, and the oxygenation time is controlled for a reasonable period of time. Accurate parameter setting is the key to ensuring accurate test results.
Start the oxygenation process
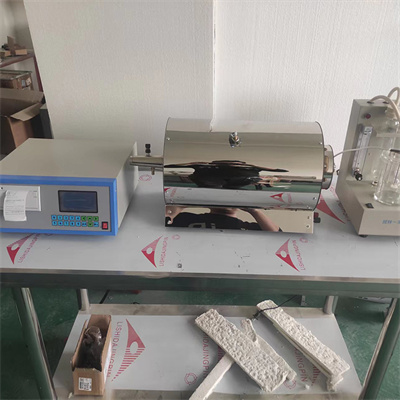
After the parameter setting is completed, press the start button of the automatic oxygenation instrument, and the instrument will automatically start oxygenation. During the oxygenation process, pay attention to the running status of the instrument, observe the value change of the pressure gauge, and ensure that the pressure is stable within the set range. If there are abnormal conditions such as abnormal pressure fluctuations and air leakage sounds, the oxygenation should be stopped immediately, and the problem should be checked before re-operation to ensure the safety and stability of the oxygenation process.
Fifth, the end of oxygenation
When the oxygenation reaches the set time, the instrument will automatically stop oxygenating. Turn off the valve of the oxygen cylinder first, then turn off the power supply of the automatic oxygenator in turn, and finally disconnect the pipeline connection. Properly organize the instrument and pipeline, store the oxygen cylinder in a safe location, and keep a record of use, which is convenient for subsequent traceability. Prepare for the next use.
 How to read calorimeter data
 What is the design principle of a calorimeter?
 What is the harm of lack of water in the calorimeter?
 What is the input interface of the calorimeter?