How to remove the main board of the calorimeter
First, preparation and safety instructions
Before disassembling the calorimeter motherboard, be sure to be well prepared. Prepare a set of screwdrivers with complete specifications to ensure that it can match the screws on the calorimeter shell and main board. At the same time, prepare an anti-static bracelet. Human static electricity may cause irreversible damage to the precision electronic components on the main board. Wearing an anti-static bracelet can effectively avoid this problem.
In addition, be sure to cut off the power supply of the calorimeter before operation to prevent the risk of electric shock. And, choose a dry and dust-free environment for operation to avoid dust entering the inside of the instrument and affecting subsequent use.
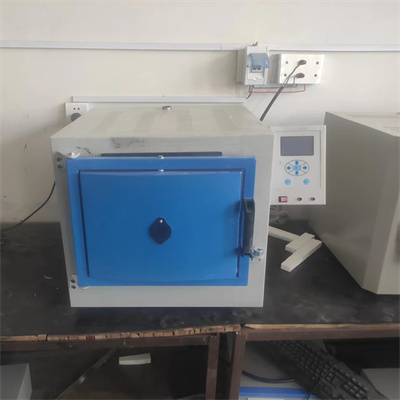
Second, the shell dismantling steps
First, observe the shell structure of the calorimeter to find the location of the fixing screws of the shell, which are usually distributed on the side, back or bottom of the instrument. Use a suitable screwdriver to unscrew the fixing screws one by one in a counterclockwise direction, and store the screws properly to avoid loss.
After unscrewing the screws, gently pry open the shell buckle (part of the calorimeter shell adopts a buckle design), paying attention to the moderate force when prying to avoid deformation or fracture of the shell due to excessive force. Slowly remove the shell, at this time you can see the internal structure of the calorimeter and find the location of the main board.
Three, the main board disassembly core process
1. Identify the connection lines: There are multiple lines connected to the main board, including power cables, data cables, etc. Carefully observe the connection method and interface type of each line, and mark it before disassembly, such as using label paper to indicate the connection position of each line to prevent subsequent installation from being wrong.
2. Unplug the connecting lines: Gently unplug each connecting line in the order of marking. When plugging, hold the interface part to avoid pulling the line to prevent line damage or interface loosening.
3. Remove the fixing screws: the main board is usually fixed on the internal bracket of the instrument by screws, find the screws that fix the main board, and unscrew it counterclockwise with a screwdriver, and also store the screws properly.
4. Remove the main board: After all the connecting lines are unplugged and the fixing screws are removed, hold the main board smoothly with both hands and gently remove it from the inside of the instrument. Note that during the removal process, avoid the collision between the main board and other parts to prevent damage to the components on the main board.
IV. Precautions after disassembly
After the disassembly is completed, place the main board on a dry, anti-static mat. If the main board needs to be cleaned or repaired later, be sure to operate it in a professional environment. When installing back to the main board, follow the reverse steps of disassembly to ensure that the lines are connected correctly and the screws are firmly fixed. After the installation is completed, turn on the power supply for testing to confirm that the calorimeter is working normally.
 How to read calorimeter data
 What is the design principle of a calorimeter?
 What is the harm of lack of water in the calorimeter?
 What is the input interface of the calorimeter?