How to wash a calorimeter
As a key instrument for accurately measuring heat, the cleanliness of the calorimeter directly affects the accuracy of the measurement results and the service life of the instrument. Mastering the scientific washing method is an important link to ensure the stable operation of the calorimeter. Below, I will introduce the washing steps and key points of the calorimeter in detail.
Preparation before washing
Before starting the washing work, be sure to cut off the power supply of the calorimeter. Wait until the instrument is completely cooled to room temperature before operating to avoid the risk of electric shock and burns. At the same time, prepare special cleaning tools, such as soft dust-free cloth, neutral detergent, distilled water, etc. Do not use strong acid and alkali cleaners to avoid corrosion of instrument parts.
External cleaning steps
Dip a clean clean cloth in a small amount of neutral detergent and gently wipe the shell of the calorimeter to remove dust, oil and other stains on the surface. During the wiping process, pay attention to avoid sensitive parts such as the display screen and buttons of the instrument to prevent the detergent from penetrating into the interior and damaging the circuit components. After wiping, dip another clean clean cloth in distilled water and wipe the shell repeatedly until there is no detergent residue on the surface. Finally, dry the water with a dry cloth to keep the appearance of the instrument dry and tidy.
Cleaning of internal core components
The internal core components of the calorimeter, such as the sample pool, agitator, etc., are the key areas for cleaning. For the sample pool, first use a special brush to remove the residual sample residue in the pool, and then rinse it repeatedly with distilled water until the wall is smooth and free of residue. If there are stubborn stains in the sample pool, you can use the matching special cleaning solution to soak it. The soaking time should not be too long. Generally, it is controlled at 5-10 minutes. After soaking, rinse it again with distilled water. To clean the agitator, gently wipe the stirring blades with a dust-free cloth to remove the attached impurities and ensure that the agitator runs flexibly and is free of cards.
Inspection and maintenance after washing
After the cleaning is completed, carefully check whether the various components of the calorimeter are installed in place and whether they are damaged or loose. After the instrument is completely dry, the power supply can be turned on and the boot test can be carried out to confirm that the functions of the instrument are normal. In addition, it is recommended to establish a regular cleaning system, formulate a reasonable cleaning cycle according to the frequency of use of the instrument, do a good job in the daily maintenance of the calorimeter, prolong the service life of the instrument, and ensure the accuracy and reliability of the measurement data.
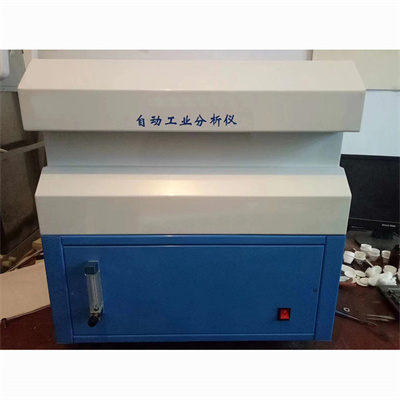
Through the above standard washing process, both the cleanliness of the calorimeter and the measurement accuracy of the instrument can be effectively guaranteed, providing strong support for experimental work.
 How to read calorimeter data
 What is the design principle of a calorimeter?
 What is the harm of lack of water in the calorimeter?
 What is the input interface of the calorimeter?