How to discharge the drainage of the calorimeter
The drainage operation of the calorimeter is very important, which is related to the normal operation of the instrument and the measurement accuracy. It is necessary to master the correct method.
The first step: preparation
Before operation, make sure that the calorimeter is in a power-off state to avoid the risk of electric shock. At the same time, prepare clean wipes and containers for receiving discharged water to prevent water from spilling on other parts of the instrument and causing damage.
Step 2: Identify the drain
The position of the drain port of the calorimeter varies slightly depending on the model, but it is usually located at the bottom or side of the instrument. Look carefully at the appearance of the instrument and find the interface with the drain pipe connection, which is generally clearly marked. If you are not sure, you can consult the instrument manual to accurately locate the drain port.
Step 3: Connect the drain pipe
Connect one end of the matching drain pipe tightly to the drain port to ensure that the connection is firm and prevent water leakage. When connecting, the nozzle can be rotated appropriately to make it fit with the interface to avoid gaps.
Step 4: Open the drain valve
Locate the drain valve on the calorimeter, usually a knob or push button. Turn the knob or press the button slowly in the direction indicated by the instrument to open the drain valve. At this point, water will slowly flow down the drain pipe and be caught in a prepared container.
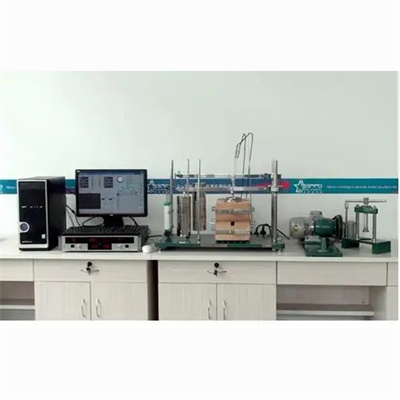
Step 5: Observe the drainage situation
During the drainage process, closely observe the water flow status. If the water flow is smooth, continue to discharge until no water flows out; if the water flow is small or interrupted, check whether the drain pipe is blocked and the valve is fully opened, and troubleshoot in time.
Step 6: Close the drain valve and clean it
After confirming that the water is exhausted, close the drain valve in time to prevent subsequent leakage. Then, use a wipe to clean the drain and surrounding residual water stains to keep the instrument dry.
Step 7: Check and reset
After the drainage is completed, re-check the connection of the drain pipe to ensure that there is no loosening. After confirming that it is correct, return the instrument to standby state and prepare it for the next use.
Following the above steps, the calorimeter drainage operation can be completed safely and efficiently, ensuring the stable operation of the instrument and laying the foundation for accurate measurement.
 How to read calorimeter data
 What is the design principle of a calorimeter?
 What is the harm of lack of water in the calorimeter?
 What is the input interface of the calorimeter?