How to replace the water pipe of the calorimeter?
During the experiment of the calorimeter, the state of the water pipe directly affects the stability and data accuracy of the instrument operation. When the water pipe is aging, damaged or leaking, it is crucial to replace the water pipe in time. The following is a detailed introduction to the replacement method of the water pipe of the calorimeter. It is simple and clear, and you can see it at a glance.
Step 1: Prepare for work to ensure safety and order
Before replacing the water pipe, be sure to turn off the power supply of the calorimeter and cut off the connection between the instrument and the water source to prevent electric shock or water leakage during operation. Prepare the new water pipe, wrench, clean rag, and container for holding residual water. At the same time, carefully check the interface specifications of the water pipe of the calorimeter to ensure that the new water pipe matches the interface exactly, so as to avoid installation failure due to specifications not matching.
Step 2: Disassemble the old water pipe and operate it carefully and standardized
Use a wrench to gently loosen the connector at the connection between the old water pipe and the instrument. The attention should be moderate to avoid damage to the instrument interface with excessive force. After unscrewing, slowly pull the old water pipe out of the interface. If any residual water flows out, wipe it with a rag in time and connect it with a container to prevent water from spilling into the inside of the instrument. During the disassembly process, pay attention to the installation direction and connection method of the old water pipe to provide reference for subsequent installation of the new water pipe.
Step 3: Install new water pipes to ensure tight connections
Align the new water pipe with the interface of the instrument, and tighten the joint initially by hand to ensure that the water pipe is aligned with the interface without skewing. After that, use a wrench to moderately reinforce the joint in a clockwise direction. The strength is appropriate to ensure that there is no leakage at the joint and no loosening of the water pipe. After the installation is completed, gently pull the water pipe to check whether the connection is firm and avoid false connection.
Step 4: Test and check to ensure normal operation
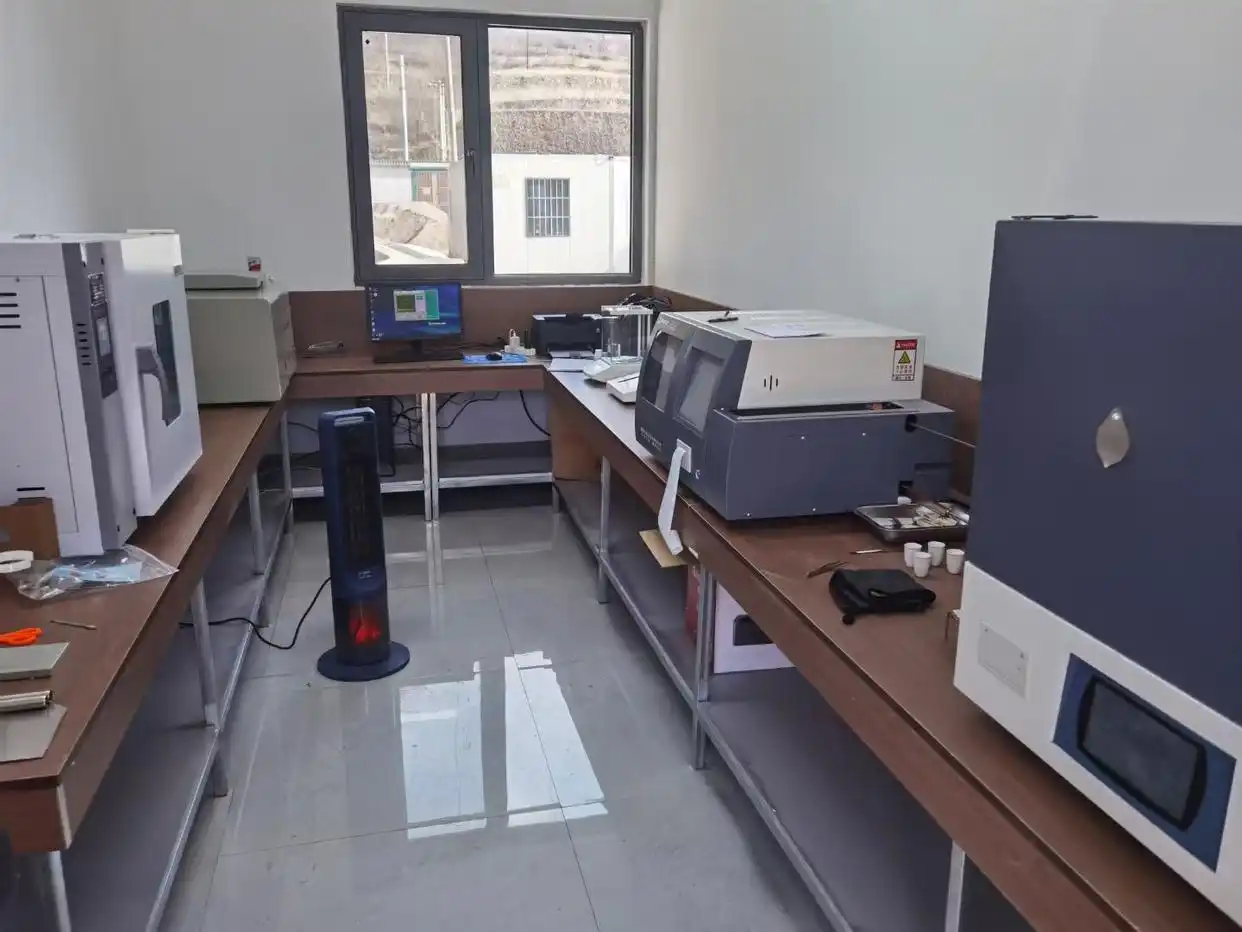
After the installation is completed, slowly turn on the water source to observe whether there is any leakage at the water pipe joint. If there is a slight leakage, tighten the joint appropriately; if the leakage is serious, turn off the water source, re-check the installation steps, and install it again after confirming that it is correct. After confirming that there is no leakage, turn on the power supply of the calorimeter, run the instrument, and observe whether the running status and data of the instrument are normal to ensure that the replaced water pipe can work stably.
When replacing the water pipe of the calorimeter, strictly follow the above steps to complete the replacement work efficiently, ensure the normal operation of the calorimeter, and provide a reliable guarantee for the experiment.
 How to read calorimeter data
 What is the design principle of a calorimeter?
 What is the harm of lack of water in the calorimeter?
 What is the input interface of the calorimeter?