How to change the water in the calorimeter video
During the experiment of the calorimeter, the stability of the water temperature plays a key role in the accuracy of the test results, so it is necessary to master the correct water change method. Combined with the water change video, we will disassemble the water change steps of the calorimeter in detail, which is simple and easy to understand at a glance.
The first step: preparation is essential
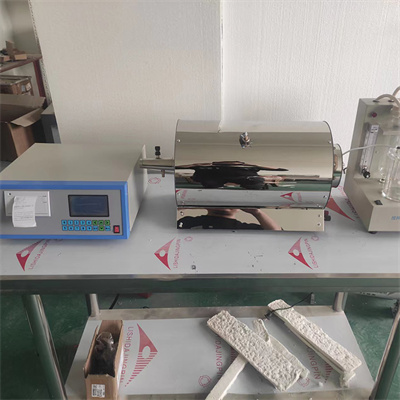
Before changing the water, prepare clean distilled water or deionized water to ensure that the water quality meets the requirements of the instrument and avoid impurities affecting the experiment. At the same time, prepare a clean rag, a special container, and place the calorimeter on a stable and ventilated operating table. Turn off the power supply of the instrument to ensure safe operation.
The second step is to drain the old water
Open the drain valve of the calorimeter to completely drain the old water inside the instrument. Pay attention to observation when draining to ensure that the old water is completely drained to avoid mixing the residual old water with the new water and affecting the water temperature control. If the drain port is blocked, you can gently unclog it with a soft brush. Do not scrape it with a hard object to avoid damage to the instrument parts.
The third step: injecting new water needs to be accurate
After closing the drain valve door, slowly inject the prepared new water into the instrument. Pay close attention to the water level scale during the injection process, and add it strictly according to the water level line required by the instrument manual, neither too much will cause overflow, nor too little will affect the normal progress of the experiment. After the injection is completed, the instrument can be gently shaken to allow the water to fully fill the internal pipeline and discharge bubbles.
Step 4: Check and debug to ensure accuracy
After injecting new water, turn on the power supply of the calorimeter and perform a simple inspection and debugging of the instrument. Check whether the water level is normal and whether the temperature sensor responds accurately. If there is any abnormality, check it in time. After confirming that it is correct, you can use the water change video to compare the operation to consolidate the water change process and ensure that every step is standardized and correct.
Through the above steps, the water change of the calorimeter can be successfully completed. With the water change video learning, the operation details can be more intuitively grasped, making the water change process more efficient and accurate, and laying a solid foundation for the accuracy of the experimental results.
 How to read calorimeter data
 What is the design principle of a calorimeter?
 What is the harm of lack of water in the calorimeter?
 What is the input interface of the calorimeter?