How to change the calorimeter indicator
In laboratory testing, the accuracy of the calorimeter index directly affects the reliability of the test results. When the testing requirements change or the instrument is calibrated, it is often necessary to adjust the indicator of the calorimeter. The following is a detailed introduction to the specific steps and key points of changing the indicator of the calorimeter to help you quickly master the operation skills.
The first step is to make early preparations
Before changing the indicator, make sure that the calorimeter is in a stable working condition. Conduct a comprehensive inspection of the instrument to confirm that the power connection is normal and the cooling system is running stably. At the same time, check the calibration records of the instrument to ensure that there is no hardware failure of the instrument itself. In addition, the corresponding reference material needs to be prepared for verification after subsequent indicator adjustments to ensure the accuracy of the adjustment.
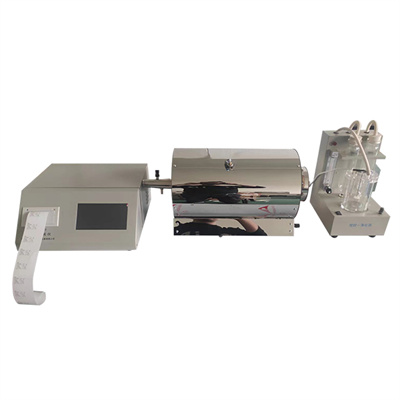
Step 2: Enter the indicator setting interface
Different models of calorimeters have slightly different operation methods for entering the indicator setting interface. Generally speaking, you need to turn on the power supply of the calorimeter first. After the instrument is initialized, find the function options such as "Parameter Settings" and "Index Adjustment" through the operation panel of the instrument, and click to enter the indicator setting interface. Some smart calorimeters also support remote setting through supporting computer software. When operating, you need to ensure that the connection between the instrument and the computer is stable.
Step 3: Precise adjustment of target metrics
After entering the setting interface, you will see various index parameters such as temperature, heat capacity, reaction time, etc. According to your own testing needs, find the specific indicators that need to be changed, and make numerical adjustments according to the operation prompts. During the adjustment process, strictly refer to the instrument manual and relevant testing standards to avoid random modification of parameters and prevent deviation of test results due to improper parameter settings.
Step 4: Validate the adjusted metrics
After the adjustment of the index is completed, the verification operation must be carried out. Put the prepared reference material into the calorimeter for testing, and compare the test result with the nominal value of the reference material. If the test result is within the allowable error range, it means that the index adjustment is successful; if it exceeds the error range, it is necessary to re-check the setting parameters, and repeat the adjustment and verification steps until the index meets the requirements.
Step 5: Record the adjustment information
After the index is adjusted and verified, key information such as the adjustment time, the adjusted index content, the adjusted parameter value and the verification result should be recorded in time. These records are not only convenient for follow-up traceability, but also provide an important basis for the daily maintenance and troubleshooting of the instrument to ensure the long-term stable operation of the calorimeter.
Mastering the method of changing the calorimeter index can not only improve the flexibility of the testing work, but also ensure the accuracy of the testing results. By strictly following the above steps, the adjustment of the calorimeter index can be easily completed, providing strong support for the laboratory testing work.
 How to read calorimeter data
 What is the design principle of a calorimeter?
 What is the harm of lack of water in the calorimeter?
 What is the input interface of the calorimeter?