How to install a calorimeter
Preparation before installation
Before installing the calorimeter, be sure to make adequate preparations. First check whether the various components of the instrument are complete and whether there is any damage caused by transportation. At the same time, ensure that the installation environment is dry and ventilated, and the temperature is stable at 15-30 ° C to avoid direct sunlight and strong magnetic field interference. Prepare matching installation tools, such as screwdrivers, wrenches, etc., and also prepare a power supply to ensure that the voltage is stable and meets the rated voltage requirements of the instrument.
Instrument component assembly
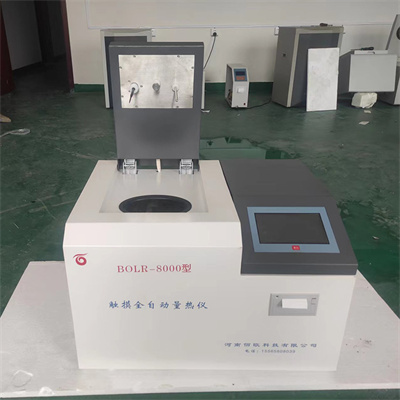
Splice the main parts of the calorimeter according to the instructions in the manual. Place the host base first to ensure a smooth placement, and then install the measurement module. When installing, pay attention to the precise docking of the card slots between the parts to avoid forced pressing and prevent damage to the parts. After the installation is completed, gently shake the instrument to check whether the parts are firm and whether there are any signs of loosening. If it is found to be loose, adjust and reinforce it in time.
Line connection operation
Line connection is the key link of installation. Connect the power line first, and connect it strictly according to the positive and negative electrodes of the instrument logo to avoid instrument failure caused by reverse connection. Then connect the signal transmission line to ensure that the interface is plugged tightly and avoid poor contact. After the connection is completed, carefully check each line to confirm that there is no loosening or winding, the line layout is regular, and it does not squeeze with other parts.
Boot-up debugging and calibration
After completing the assembly and circuit connection, turn on the power supply and turn it on. After turning it on, wait for the instrument self-test to complete, and follow the operation manual for calibration. Use standard materials for calibration to ensure that the instrument measurement accuracy is up to standard. During the calibration process, carefully observe the instrument display data. If there is any abnormality, check the cause in time and adjust the calibration steps until the instrument parameters are stable and normal.
Check after installation
After the installation and debugging are completed, conduct a comprehensive inspection. Check the appearance of the instrument for stains and scratches, whether the connection of various components is stable, and whether the circuit is safe. Turn it on again for testing, simulate the actual use scenario, observe the running status of the instrument, and confirm that the functions are normal. The installation work is successfully completed. Regular maintenance of the instrument is required to ensure its long-term stable operation.
 How to read calorimeter data
 What is the design principle of a calorimeter?
 What is the harm of lack of water in the calorimeter?
 What is the input interface of the calorimeter?