How to clean the inner cylinder of the calorimeter
The calorimeter is a key equipment for accurately measuring heat in the laboratory, and the cleanliness of the inner cylinder directly affects the accuracy of the measurement results. Mastering the scientific cleaning method can not only prolong the life of the instrument, but also ensure the reliability of the experimental data. Below, I will introduce the cleaning steps of the inner cylinder of the calorimeter in detail.
Step 1: Prepare for cleaning up
Before cleaning, be sure to turn off the power to the calorimeter and wait for the device to cool completely to avoid the risk of electric shock or burns. Prepare a clean soft cloth, neutral detergent, distilled water, special brush, and rubber gloves for personal protection, and make sure that cleaning tools do not scratch the inner cylinder.
Step 2: Remove the inner cylinder components
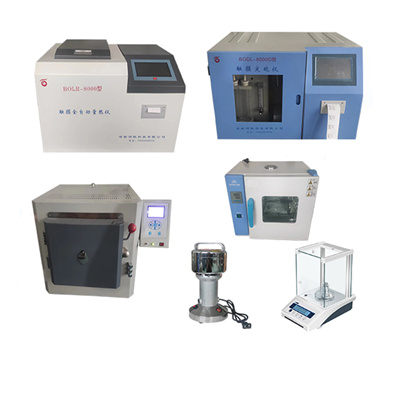
According to the instrument manual, carefully disassemble the separable parts of the inner cylinder, such as the agitator, temperature sensor probe, etc., and handle them with care when disassembling to avoid bumping and damage to the parts. At the same time, do a good job of marking the parts to facilitate subsequent installation and restoration.
Step 3: Clean the inner cylinder body
Dip a soft cloth in an appropriate amount of neutral detergent, gently wipe the inner and outer walls of the inner cylinder, focusing on cleaning residual experimental reagents and stains. For stubborn stains, you can gently brush with a special brush. Do not use hard tools to prevent damage to the inner cylinder coating. After cleaning, rinse the inner cylinder repeatedly with distilled water until no detergent remains.
Step 4: Clean and disassemble parts
Wipe the disassembled agitator, sensor probe, and other components with a soft cloth and neutral detergent respectively. Small gaps can be cleaned with a brush, and the same can be rinsed with distilled water to ensure that no stains remain on each component.
Step 5: Drying and Installation
Dry the inner cylinder and parts with a clean dust-free cloth, or place them in a ventilated and dry place to dry naturally. High temperature baking is strictly prohibited. After it is completely dry, install the parts back to the inner cylinder accurately according to the marks. After installation, check whether the parts are installed in place to ensure the normal operation of the instrument.
Notes:
1. It is forbidden to use corrosive cleaners such as strong acids and alkalis to avoid damage to the material of the inner cylinder;
2. Avoid water from entering the instrument circuit during the cleaning process to prevent the instrument from short-circuiting.
3. Regularly clean the inner cylinder of the calorimeter. It is recommended to simply clean it in time after each experiment, and perform regular deep cleaning to ensure that the instrument is always in good condition.
By mastering the above methods, the cleaning of the inner cylinder of the calorimeter can be easily completed, providing a solid foundation for accurate measurement in the laboratory.
 How to read calorimeter data
 What is the design principle of a calorimeter?
 What is the harm of lack of water in the calorimeter?
 What is the input interface of the calorimeter?