How to set the temperature display of the calorimeter
In all kinds of calorific value detection work, the calorimeter plays a key role, and accurately setting its temperature display is an important prerequisite to ensure accurate test results. Below, I will introduce the setting method of the calorimeter temperature display in detail.
First, prepare before starting
Before setting the temperature display, make sure that the power connection of the calorimeter is stable and the instrument is in normal standby state. At the same time, check the surrounding environment of the instrument to avoid strong electromagnetic interference, and keep the ambient temperature within the working range specified by the instrument, generally between 15 and 30 degrees Celsius. A stable environment can provide protection for subsequent operations.
Enter the settings interface
Turn on the power switch of the calorimeter, wait for the instrument to complete the self-test, and enter the main operation interface. Different models of calorimeters have slightly different ways to enter the temperature setting interface. The common way is to click the "Settings" or "Parameter Adjustment" button on the screen. Some old-fashioned calorimeters may need to be entered through the combination of function buttons on the panel. For specific operations, please refer to the instruction manual attached to the instrument.
III. Temperature parameter settings
After entering the temperature setting interface, you will see the temperature-related parameter options, such as target temperature, display accuracy, etc. According to the detection requirements, enter the required temperature value in the corresponding position. For example, if the detection of the calorific value of a substance requires a specific temperature environment, enter the temperature value in the target temperature column. At the same time, set the display accuracy reasonably. The higher the accuracy, the more detailed the displayed temperature data, but it may affect the response speed of the instrument. The setting needs to be weighed against the actual detection needs.
IV. Confirm and save settings
After completing the temperature parameter setting, carefully check whether the entered value is accurate. After confirming that it is correct, click the "Confirm" or "Save" button to make the setting take effect. Some calorimeters will automatically return to the main interface after saving the settings. At this time, observe the temperature display area. If the displayed temperature value is consistent with the setting, it means that the setting is successful.
V. Testing and Calibration
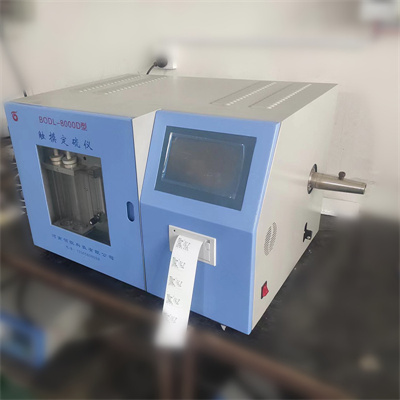
After the setting is complete, a simple test can be carried out. Let the calorimeter run for a period of time to observe whether the temperature display is stable near the set value. If there is a temperature deviation, some instruments have a calibration function. You can calibrate the temperature display through the calibration procedure of the instrument and follow the prompts to ensure the accuracy of the temperature display.
Mastering the setting method of the temperature display of the calorimeter can not only improve the detection efficiency, but also ensure the reliability of the detection results. Follow the above steps and you can easily complete the setting of the temperature display of the calorimeter.
 How to read calorimeter data
 What is the design principle of a calorimeter?
 What is the harm of lack of water in the calorimeter?
 What is the input interface of the calorimeter?