How to operate a calorimeter diagram
As a core instrument for accurately measuring the calorific value of substances, calorimeters are widely used in energy, chemical and other fields. Mastering the correct operation method is the key to ensuring the accuracy of the test results. The following steps are illustrated to take you to quickly learn the operation of calorimeters.
First, prepare before starting
First check the appearance of the calorimeter for damage, whether the power cord is firmly connected, and ensure that the instrument is placed smoothly. Open the oxygen cylinder valve and adjust the pressure of the pressure reducing valve to 0.28-0 MPa to ensure stable oxygen supply. At the same time, prepare dry and clean burning dishes, ignition wires and samples to be tested. The samples need to be ground to the specified particle size, and the weight is controlled at about 1g.
Instrument startup and parameter setting
Turn on the power supply of the calorimeter, press the power button, and wait for the instrument self-test to complete. After entering the operation interface, set the corresponding parameters according to the sample type, such as ignition temperature, test time, etc. If using a constant temperature calorimeter, you need to open the constant temperature water tank in advance, and wait for the water temperature to stabilize to the set value before entering the next operation.
III. Sample installation and ignition
Put the weighed sample into the combustion dish, fix the sample with the ignition wire, and ensure that the ignition wire is in full contact with the sample. Place the combustion dish smoothly on the electrode holder of the oxygen bomb, install the oxygen bomb, slowly fill the oxygen to 2.8-3 MPa, keep it free of air leakage for 15 seconds, and then close the valve. Click the "Ignition" button on the interface, and the instrument will automatically start the ignition procedure to closely observe whether the ignition is successful.
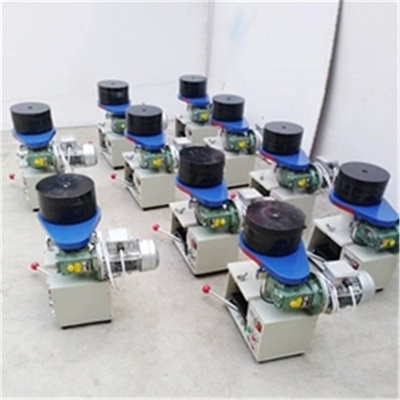
IV. Testing and data recording
After the ignition is successful, the instrument automatically enters the test stage and displays the temperature change curve in real time. When the test is over, the instrument automatically calculates and displays the calorific value of the sample. Carefully check the data and record the results after confirming that it is correct. If the test fails, it is necessary to check the ignition wire contact, oxygen pressure and other problems and re-operate.
V. End of the experiment
After the test is completed, first close the oxygen cylinder valve, release the oxygen bomb to deflate, remove the combustion dish and clean up the residue. Turn off the power supply of the instrument, organize the experimental table, and return the instrument and accessories. Regularly clean and maintain the calorimeter to ensure the stable performance of the instrument and provide a reliable guarantee for subsequent testing.
By mastering the above operation steps and practicing repeatedly in combination with the instrument instructions, you can skillfully operate the calorimeter and efficiently complete various types of calorific value detection work.
 How to read calorimeter data
 What is the design principle of a calorimeter?
 What is the harm of lack of water in the calorimeter?
 What is the input interface of the calorimeter?