How to add the calorimeter without water?
When using a calorimeter for experimental work, water shortage may affect the normal operation of the instrument, thereby interfering with the accuracy of the experimental results. Mastering the correct water addition method is the key to ensuring the stable operation of the calorimeter. Below, we will introduce the water addition steps after the calorimeter is short of water in detail.
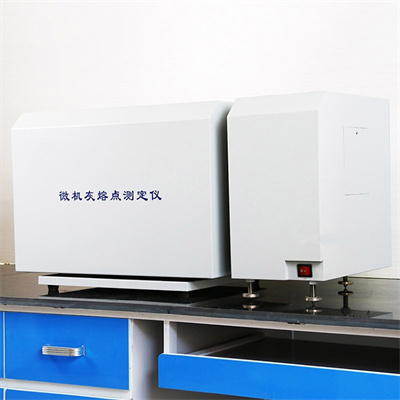
Step 1: Turn off the instrument and power off
Before adding water to the calorimeter, be sure to turn off the operation switch of the instrument and then cut off the power supply. This is the core step to ensure the safety of operation. It can also prevent the water flow from causing damage to the internal circuit of the instrument.
Step 2: Locate the water inlet and water tank
Different types of calorimeters have different positions of the water inlet and the water tank. The common water inlet is located on the side or top of the instrument, and the water tank is mostly made of transparent material, which is convenient for observing the water level. Before operation, carefully read the instrument manual to accurately locate the water inlet and water tank to avoid unnecessary damage to the instrument caused by blind operation.
Step 3: Prepare a water source that meets the requirements
The calorimeter has clear requirements for the water quality of the added water, and generally needs to use purified water or distilled water. Impurities and minerals contained in tap water will adhere to the inside of the instrument after long-term use, causing pipeline blockage, reducing the accuracy of the sensor, and affecting the service life and measurement accuracy of the calorimeter. Therefore, do not use tap water to add water directly.
Step 4: Add water slowly and control the water level
Slowly pour the prepared purified water into the water filling port, and always observe the water level scale of the water tank during the water filling process. The water level of the water tank of the calorimeter is marked with an upper limit and a lower limit. When adding water, the water level needs to be controlled between the upper and lower limits. If the water level is too low, the instrument will be short of water and cannot work normally. If the water level is too high, it may overflow when the instrument is running, damaging internal components.
Step 5: Check and restore the state of the instrument
After adding water, carefully check whether the water inlet is tightly covered to avoid water leakage during use. Then, reconnect the power supply, turn on the instrument, and check whether the instrument starts normally and the water level shows whether it is stable. After confirming that it is correct, it can resume normal use.
In addition, in order to ensure the stable operation of the calorimeter, it is recommended to regularly check the water level of the water tank, establish a water addition record, and regularly clean the water tank to prevent scale accumulation. If there is still a water shortage alarm after adding water, it is necessary to check whether the pipeline is blocked and the sensor is faulty in time, and contact professional technicians for maintenance if necessary.
 How to read calorimeter data
 What is the design principle of a calorimeter?
 What is the harm of lack of water in the calorimeter?
 What is the input interface of the calorimeter?