How to turn on the calorimeter water pump?
When using a calorimeter to carry out experimental work, correctly turning on the pump is a key prerequisite to ensure the smooth progress of the experiment. Many operators are prone to opening errors due to their unfamiliarity with the operation process, which in turn affects the accuracy of the experimental data. The following is a detailed introduction to the opening steps of the calorimeter pump, which is simple and easy to learn at a glance.
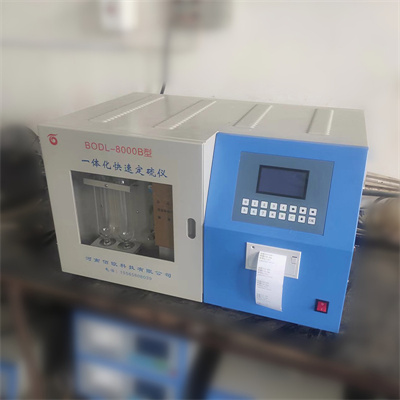
Step 1: Do a good job of pre-opening inspection
Before turning on the pump, you must first complete the basic inspection. First check the power interface of the pump to confirm that the interface is not loose or damaged, and at the same time check whether the matching power socket is powered normally; then observe the water inlet and outlet pipes of the pump to ensure that the pipeline connection is firm and there is no leakage or blockage, especially pay attention to whether the sealing ring at the pipeline interface is in good condition to avoid water leakage problems after subsequent opening; finally check the water storage device of the pump to ensure that the water level is within the normal scale range. If the water level is too low, it is necessary to replenish the pure water that meets the requirements in time to prevent the pump from idling damage.
Step 2: Find the pump switch
Different types of calorimeters have different pump switch positions, but most of them are concentrated in the prominent position of the instrument control panel or the pump body. Common switch types are button and knob: button switches are usually marked with a clear "start" logo, which can be turned on by pressing; knob switches need to be rotated clockwise to the "on" gear according to the direction of the logo. If you are not sure about the switch position, you can first consult the instruction manual of the calorimeter, and follow the instructions to accurately locate. Do not operate blindly.
Step 3: Standardize the execution of the opening operation
After confirming the switch position, you can turn it on. After pressing or rotating the switch, closely observe the running status of the pump. During normal operation, the pump will emit a smooth running sound without abnormal noise, and there will be water circulation in and out of the water pipe. If the pump does not respond after turning it on, you need to immediately disconnect the power supply, check whether the power connection and switch are normal, and try to turn it on again after troubleshooting; if there is a water leakage, turn off the power supply first, check the sealing of the pipeline interface, re-tighten or replace the sealing ring, and then turn it on.
Step 4: Confirm the running status after opening
After the pump is turned on, it needs to wait 1-2 minutes to confirm the stable circulation of the water flow, and the related system of the calorimeter shows normal, and there is no alarm prompt to complete the opening process. At this time, the opening time of the pump can be recorded, which is convenient for closing the operation after the follow-up experiment. At the same time, pay attention to the temperature of the pump during operation. If there is abnormal heating, it is necessary to stop the machine in time for inspection to ensure the safety of the equipment.
Mastering the correct opening method of the calorimeter pump can not only ensure the smooth progress of the experiment, but also prolong the service life of the equipment. Strictly following the above steps can easily complete the opening of the pump and lay a solid foundation for the accuracy of the experimental data.
 How to read calorimeter data
 What is the design principle of a calorimeter?
 What is the harm of lack of water in the calorimeter?
 What is the input interface of the calorimeter?