How to print a microcomputer calorimeter
In the laboratory testing work, the printing operation of the microcomputer calorimeter is the key link to obtain the experimental data, and mastering the correct method can make the data output more efficient. The following is a detailed introduction to the printing steps of the microcomputer calorimeter, which is simple and easy to learn.
Step 1: Check the device and connection status
Before printing, make sure that the connection between the microcomputer calorimeter and the printer is normal. Whether it is a direct connection through a USB cable or a network sharing connection, ensure that the line is stable and the network is unobstructed. At the same time, check whether the printer is powered on and install the printing paper to avoid paper jams or no paper during printing, so as to prepare for smooth printing.
Step 2: Enter the printing function interface
Turn on the host of the microcomputer calorimeter. After the device is initialized and enters the main operation interface, accurately find the relevant options of "Data Management" or "Print Settings" in the menu bar. The interface layout of different models of microcomputer calorimeters is slightly different, but the core function modules are the same. If you look carefully, you can locate the printing entrance and click to enter the printing function interface.
Step 3: Select the data to be printed
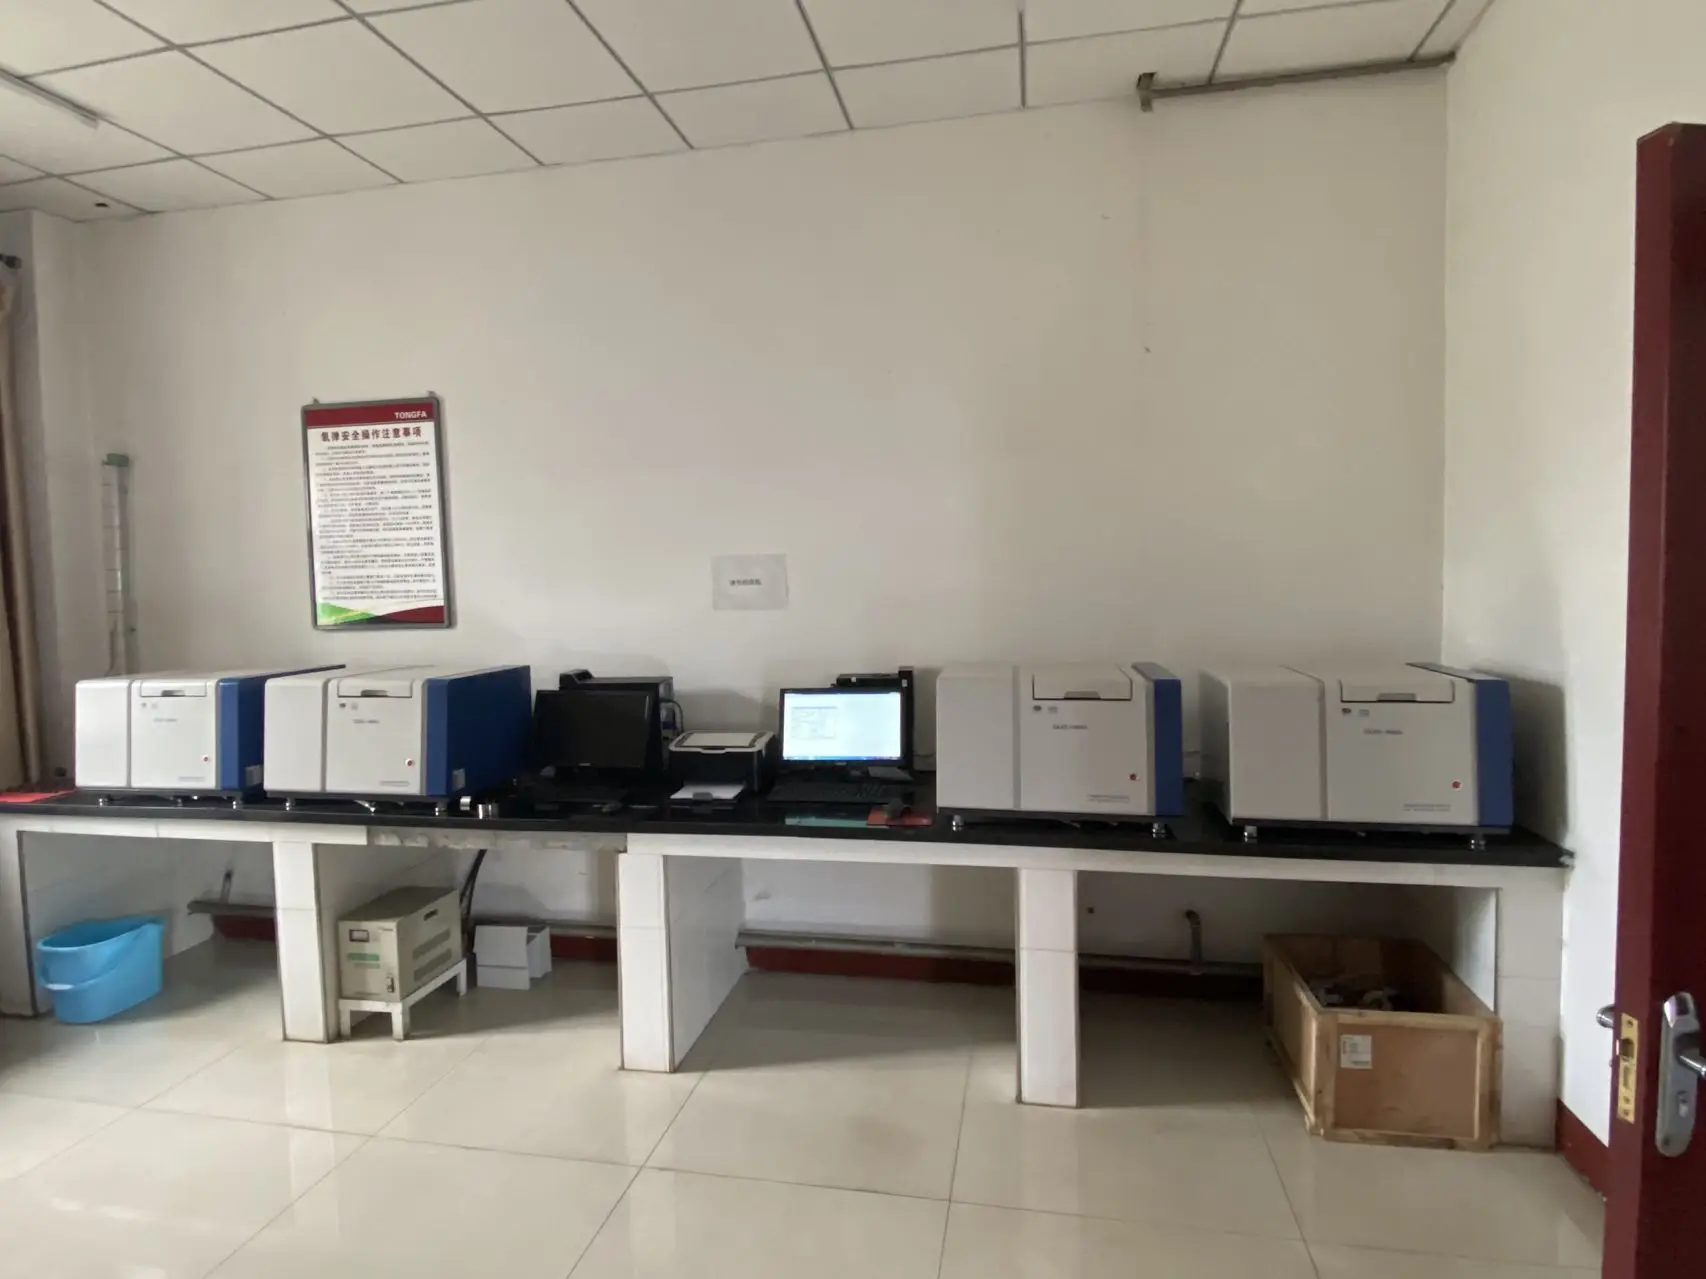
After entering the print interface, the system will display a list of completed experimental data, and the data to be printed can be screened according to the experimental number, detection time and other information. After selecting the target data, confirm that the data content is correct, avoid printing wrong data, and ensure that the printed information accurately matches the experimental needs.
Step 4: Set the print parameters and execute the print
After confirming the data, set the printing parameters according to the actual needs, such as the number of copies, paper specifications, printing format, etc. After the parameter settings are completed, click the "Print" button, and the device will automatically transfer the data to the printer to complete the printing. If there is an abnormality during the printing process, you can check the connection status or restart the device and re-operate.
By mastering the above steps, you can easily complete the printing operation of the microcomputer calorimeter, output the experimental data efficiently, and help the experimental work progress smoothly.
 How to read calorimeter data
 What is the design principle of a calorimeter?
 What is the harm of lack of water in the calorimeter?
 What is the input interface of the calorimeter?