How to delete calorimeter data
In the daily work of the laboratory, the data management of the calorimeter is very important. Mastering the correct data deletion method can ensure the rational use of the instrument storage space and ensure the accuracy of the subsequent experimental data. Here are the specific steps for deleting the calorimeter data in detail.
Step 1: Make a good backup of your data (a key prerequisite)
Before deleting data, be sure to back up important data. The experimental data stored in the calorimeter may involve key experimental results. If it is deleted directly, it will not be able to be restored in the event of misoperation. It is recommended to export the data to a computer or special storage device, and connect it through the instrument's supporting software or data cable to complete the data backup to avoid unnecessary losses caused by data loss.
Step 2: Enter the instrument operation interface
Turn on the calorimeter. After the instrument completes the self-test and enters the normal working state, find the "Menu" or "Settings" button on the operation panel, and click to enter the system operation interface. For different models of calorimeters, the operation interface layout may be different, but the core function entrance is usually concentrated in a conspicuous position. If you look carefully, you can find the data management related options.
Step 3: Location Data Management Module
In the operation interface, look for the function module "Data Management" "Historical Data" or similar names, and click to enter. This module centrally stores all the experimental data recorded by the instrument and is the core area for data deletion. Some instruments may classify the data by time and experiment type, and can filter the target data according to actual needs.
Step 4: Select and delete the target data
After entering the data management module, browse the data list and accurately locate the data that needs to be deleted according to the data number, experiment time and other information. After selecting the target data, click the "Delete" button, and the system will pop up a confirmation prompt. After confirming again that it is correct, click "OK" to complete the deletion operation. It should be noted that some instruments may limit batch deletion and need to be operated one by one. Be sure to check carefully during operation to avoid deleting important data by mistake.
Step 5: Confirm the deletion result and check the storage space
After the deletion is completed, return to the data management interface to check whether the target data has disappeared, and check whether the instrument storage space has been released. If you find that the data has not been successfully deleted, you can follow the above steps again, or consult the instrument manual to check whether there is an operation error.
Precautions
1. Strictly follow the steps in the instrument manual. The operation process of calorimeters of different brands and models may be different. Do not operate blindly.
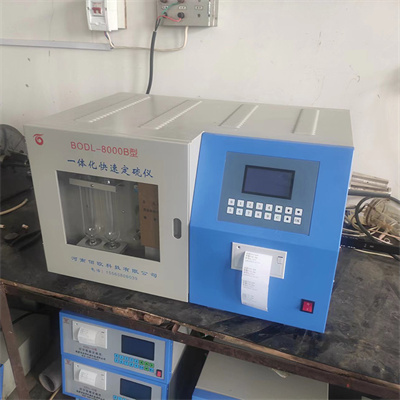
2. Before deleting the data, ensure that the data backup has been completed to avoid the loss of experimental data due to accidental deletion.
3. If you encounter problems during operation, contact the instrument manufacturer for technical support in time, and do not disassemble the instrument without permission to avoid damage to the equipment.
By mastering the above steps, you can easily delete the calorimeter data, ensure the efficient operation of the instrument, and provide strong support for laboratory work.
 How to read calorimeter data
 What is the design principle of a calorimeter?
 What is the harm of lack of water in the calorimeter?
 What is the input interface of the calorimeter?